Our files are designed to print on an ordinary home 3D printer. This guide covers the basics.
What you will need
- A 3D printer and slicer (Bambu Studio, Orca Slicer, PrusaSlicer or Cura all open our files).
- PLA filament in the colours you want. PLA is the easiest material for these models.
Which file to use
- STL is a plain single-colour model that works in every slicer.
- 3MF can carry colour information. Our multi-colour 3MF files are set up for Bambu Lab printers with an AMS, so each colour prints in the right place.
Good starting settings
- Layer height: 0.2 mm.
- Print in the orientation the file opens in.
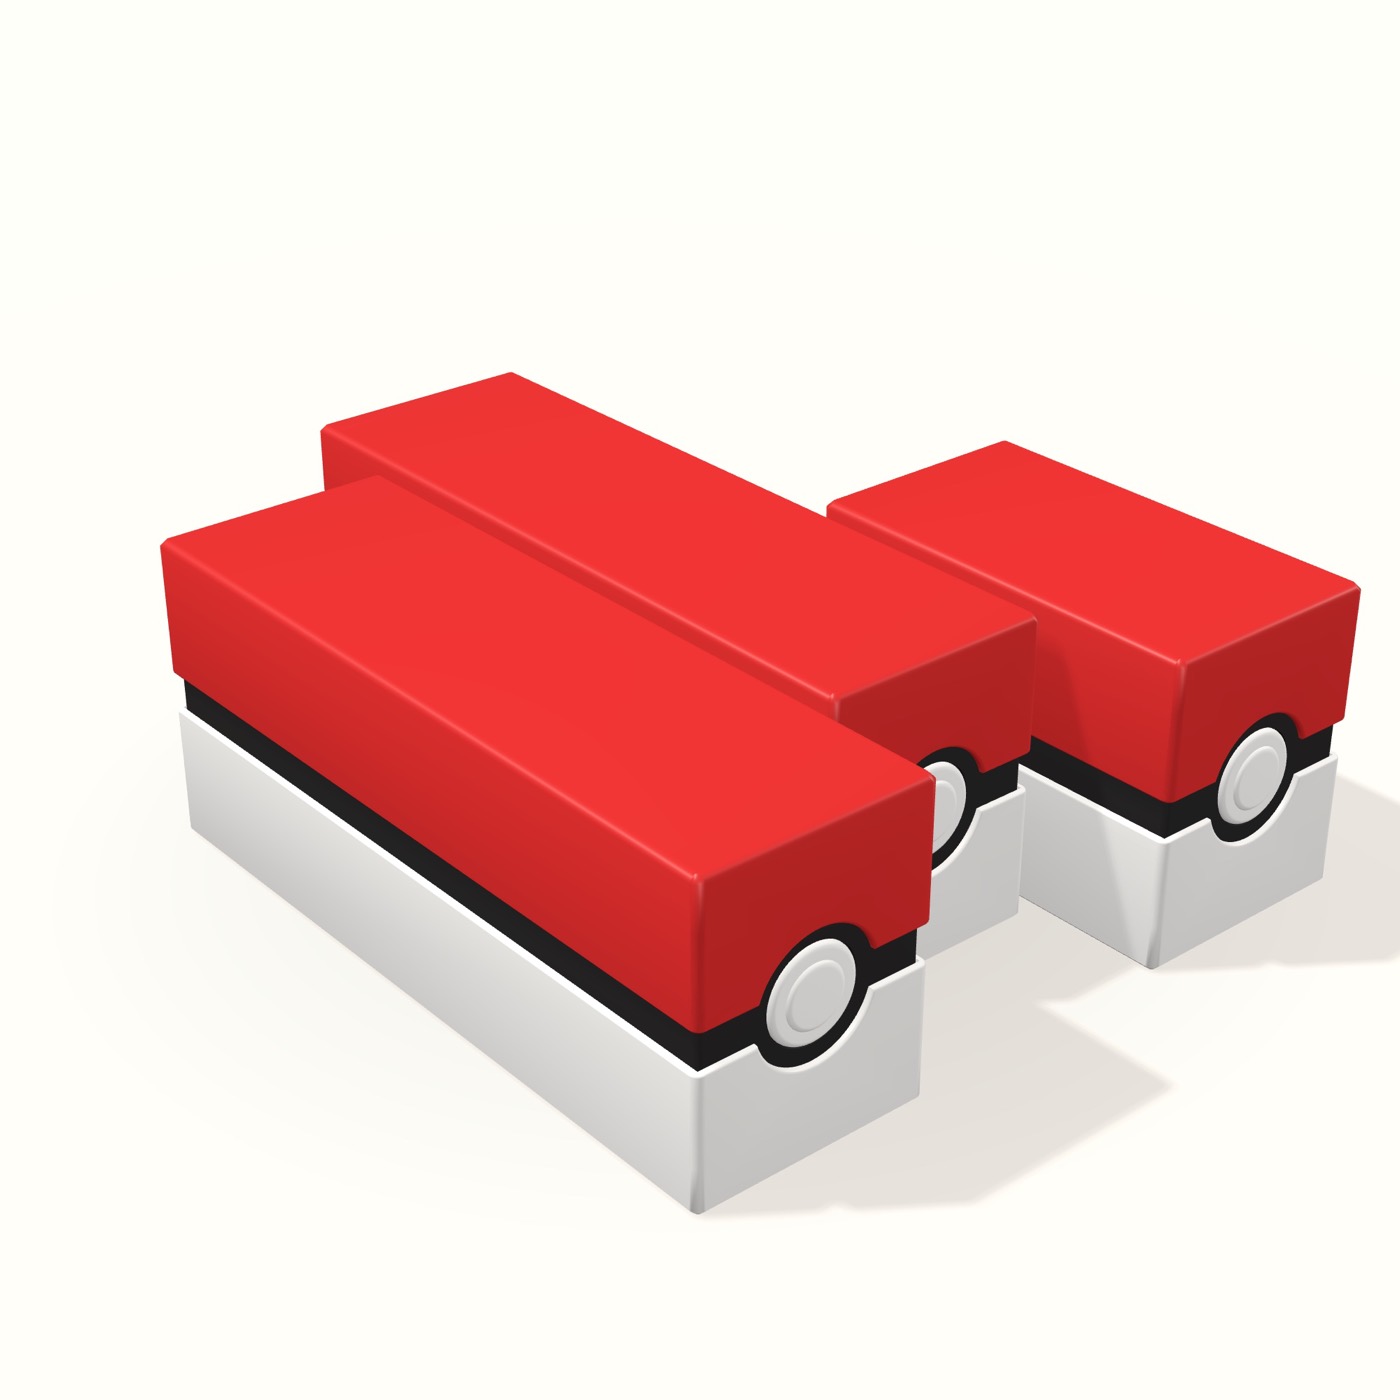
- For large flat parts (such as the 23 cm card box), use a brim to stop corners lifting.
No AMS?
Print the model in one colour and paint the details with a paint marker, or pause the print at the right layer and swap filament. The Creeper infinity cube works well this way: print it green and fill the faces with a black marker.
Where to start
The STL bundle has four prints in one download and is the best value. For a first print, try the pocket tic-tac-toe: it is small and quick.
All files are for personal use and are fan-made. They are not official products.